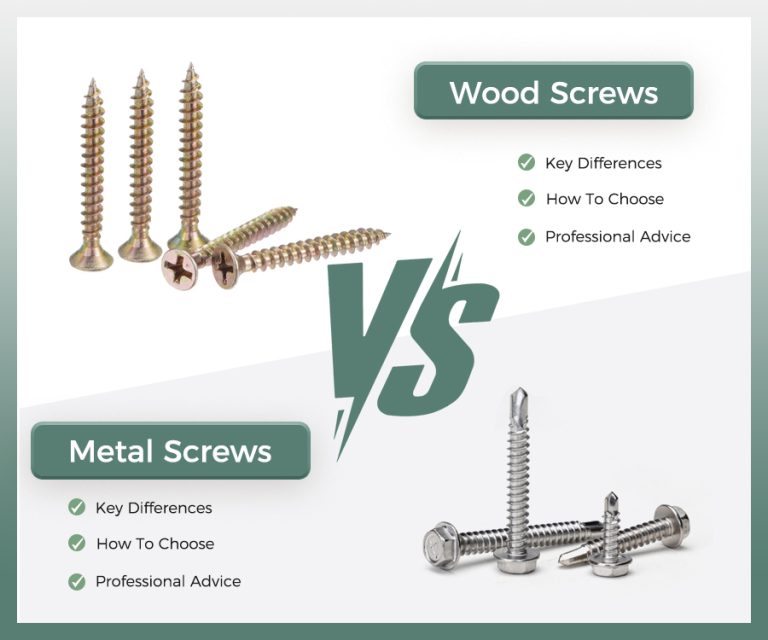
What are wafer head screws used for?
Wafer Head Timber Screws: A Comprehensive Guide to Usage and Benefits
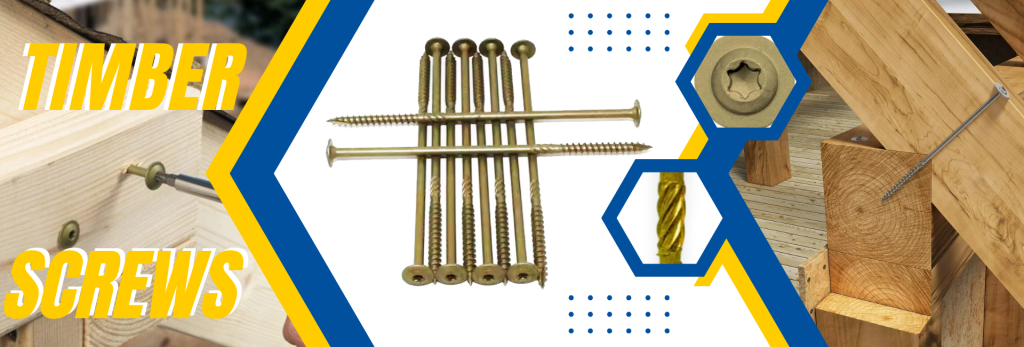
Wafer head timber screws are essential fasteners in woodworking and construction projects. Their unique design, featuring a wide, flat head, allows for a flush finish and provides excellent holding power. This article will explore the characteristics of wafer head timber screws, their applications, and a detailed guide on how to use them effectively.
What Are Wafer Head Timber Screws?
Wafer head timber screws are designed specifically for use in wood applications. The wafer head provides a larger bearing surface, which helps distribute the load and reduces the risk of splitting the wood. These screws are available in various lengths and materials, making them versatile for different projects.
Benefits of Wafer Head Timber Screws
Flush Finish: The wide, flat head of wafer screws allows them to sit flush with the surface of the wood, creating a clean and professional appearance. This is particularly important in visible areas where aesthetics matter.
Strong Holding Power: Wafer head screws are designed to provide excellent grip and holding strength, making them ideal for securing wood pieces together. Their design minimizes the risk of pull-out, ensuring a durable connection.
Ease of Use: These screws are easy to install with a power drill or screwdriver, making them suitable for both professionals and DIY enthusiasts. The self-tapping feature allows them to penetrate the wood without the need for pre-drilling in most cases.
Versatility: Wafer head timber screws can be used in various applications, including furniture assembly, cabinetry, decking, and general woodworking projects. Their adaptability makes them a go-to choice for many woodworkers.
How to Use Wafer Head Timber Screws
Using wafer head timber screws is straightforward, but following the correct procedures ensures a successful installation. Here’s a step-by-step guide:
Gather Your Tools and Materials:
- Wafer head timber screws (choose the appropriate length for your project)
- A power drill or screwdriver
- Wood pieces to be joined
- Measuring tape
- Clamps (optional)
- Safety goggles
Measure and Mark:
- Measure the area where you will be joining the wood pieces. Use a measuring tape to ensure accuracy. Mark the locations where you will drive the screws, ensuring they are evenly spaced for a secure hold.
Align the Wood Pieces:
- Position the wood pieces you want to join. If necessary, use clamps to hold them in place while you work. This will help prevent movement and ensure a precise fit.
Pre-Drilling (if necessary):
- While wafer head screws are often self-tapping, pre-drilling pilot holes can be beneficial, especially in hardwoods or when working near the edges of the wood. Use a drill bit that is slightly smaller than the screw diameter to create pilot holes.
Drive the Screws:
- Position the wafer head screw at a 90-degree angle to the surface of the wood. If you pre-drilled pilot holes, align the screw with the hole. Use a power drill or screwdriver to drive the screw in. Apply steady pressure and ensure the screw head sits flush with the wood surface.
Check for Flushness:
- As you drive each screw, check to ensure that the head of the screw is flush with the wood surface. This will create a clean finish and prevent any protrusions that could snag or cause damage.
-
Wear Safety Gear: Always wear safety goggles when working with power tools to protect your eyes from dust and debris.
-
Inspect Your Work: After installation, check all screws to ensure they are properly seated and that there are no visible gaps or damage to the wood.
Conclusion
Wafer head timber screws are an invaluable tool for anyone involved in woodworking or construction. Their unique design, ease of use, and strong holding power make them ideal for a wide range of applications. By following the steps outlined in this guide, you can achieve a professional finish in your projects, ensuring durability and aesthetic appeal. Whether you’re building furniture, assembling cabinets, or working on a DIY project, wafer head timber screws will help you get the job done right.
Continue Installing:
- Repeat the process for each screw, ensuring that they are evenly spaced and securely fastened. For larger projects, consider using multiple screws per joint for added strength.
Finishing Touches:
- Once all screws are installed, inspect the joints to ensure they are secure. If desired, you can fill any visible screw holes with wood filler for a seamless appearance.
Tips for Successful Installation
Choose the Right Length: Select wafer head screws that are appropriate for the thickness of the wood you are working with. Common lengths range from 1 inch to 3 inches.
Use the Right Material: Wafer head screws come in various materials, including stainless steel, zinc-plated, and coated options. Choose the right material based on the environment and application (e.g., outdoor projects may require corrosion-resistant screws).